So I thought i'd share some of the generosity and show you a few techniques in Photoshop to create old fashioned style photos. Whenever i'm in an antique or charity shop i'm always hunting for old images to use in my graphics work. I get so excited when I do, better than a designer hand bag any day! But this is rare as unless you want to spend extortionate amounts of money there's just not many out there. So this is a really good tip to create your own.
Start of with an image you want to make look old. I've got some pics here from doves in my local park, when they randomly flew by.
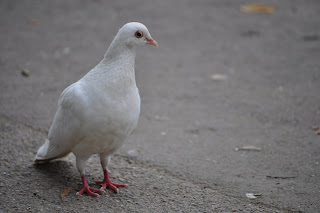
Next off you need to create a background, you can use mine if you're not that confident.
To do this I took a photo I had of water (a textured image works well, giving tones to your background image):
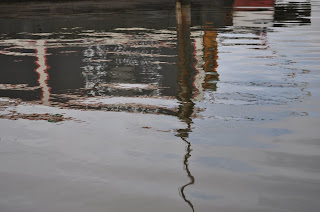
I then put a blur onto it. (Go to Filter: Blur: Gaussian Blur, I went really high at about 35 pixels, have the preview on and you can see how much to blur it by before applying).
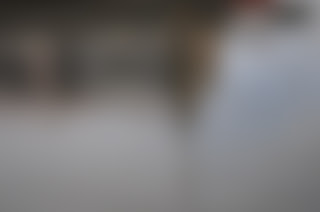
My picture was a little grey so I went into Image: Adjustments: Colour Balance and increased the Cyan and Blue. You can also use this technique with family pictures, just add yellow and red to make sepia coloured backgrounds instead of cyan and blue.
I then added some noise to my image to give it some extra texture but this is just personal preference, Filters: Noise: Add Noise)

Next is to get the old fashioned scratches and marks. To do this you need to get yourself some different brushes, preferably paint splashes or grunge brushes, there are lots of websites that offer free ones to download. I've got some good ones from brusheezy. Make sure to download either PC or Mac compatible files depending on what computer you have. I use a Mac so I know that the .abr files need to be placed in: Applications: Adobe Photoshop: Presets: Brushes. Once they're loaded play around with the brush tool (selecting different brush types) around the edges of your image. I used a black brush but changed the opacity for extra depth. You only need to work on the one layer throughout this.
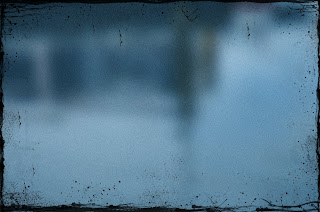
Now you have a background you can then overlay it onto your image. Select your background image, copy it and paste it onto your image. They need to be the same size, I had to resize my background to fit using the transform tool. The background image needs to be on the bottom with your preferred image on top i.e. the doves.
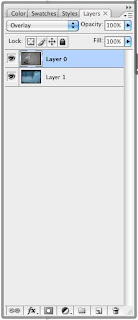
Your layers palette will look like this:
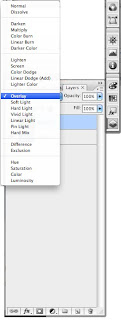
Next select the image layer and select overlay, as shown:
 and voila.....
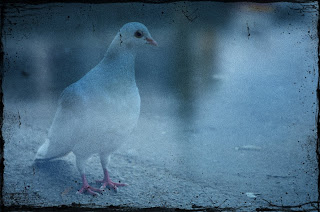
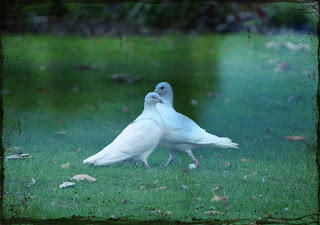
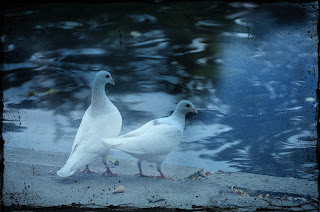 Here’s some more I made when I was playing around:

Hope you enjoy using that tip. Share any images you come up with as it would be great to see your creations.
Kirsten
No comments:
Post a Comment